The Guessing Game works. Now make it a little bit yours.
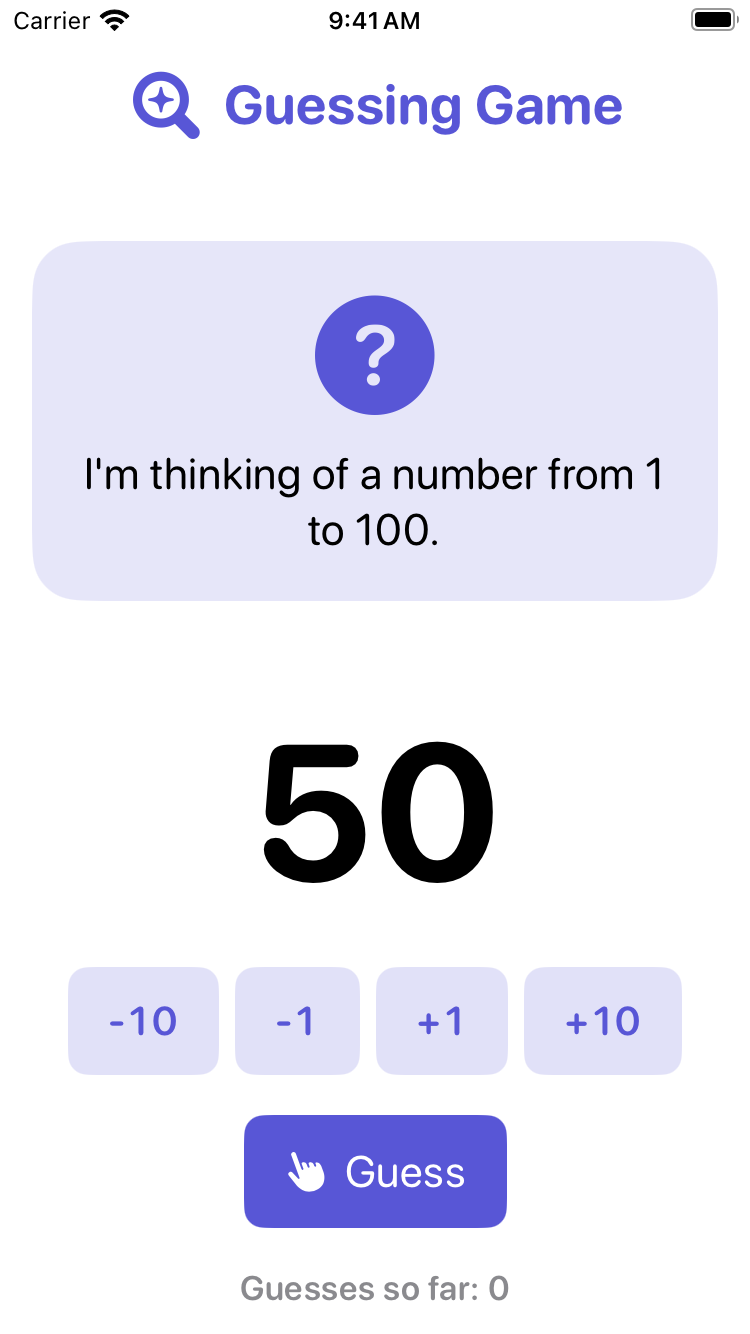
Find the TRY comments
Open GuessingGameView.swift. Scattered through the file are comments that start with // TRY:. Each one marks a safe place to change something. Lines that start with // are comments: notes for people. Swift ignores them.
The file is long, so do not scroll looking for them. Search instead:
- Click anywhere in the code, then press Command-F. A search bar appears at the top of the editor.
- Type
TRY. Xcode highlights every match and tells you how many there are. - Press Return, or the < and > buttons in the bar, to jump from one match to the next.
- Press Done, or the Escape key, when you have found the one you want.
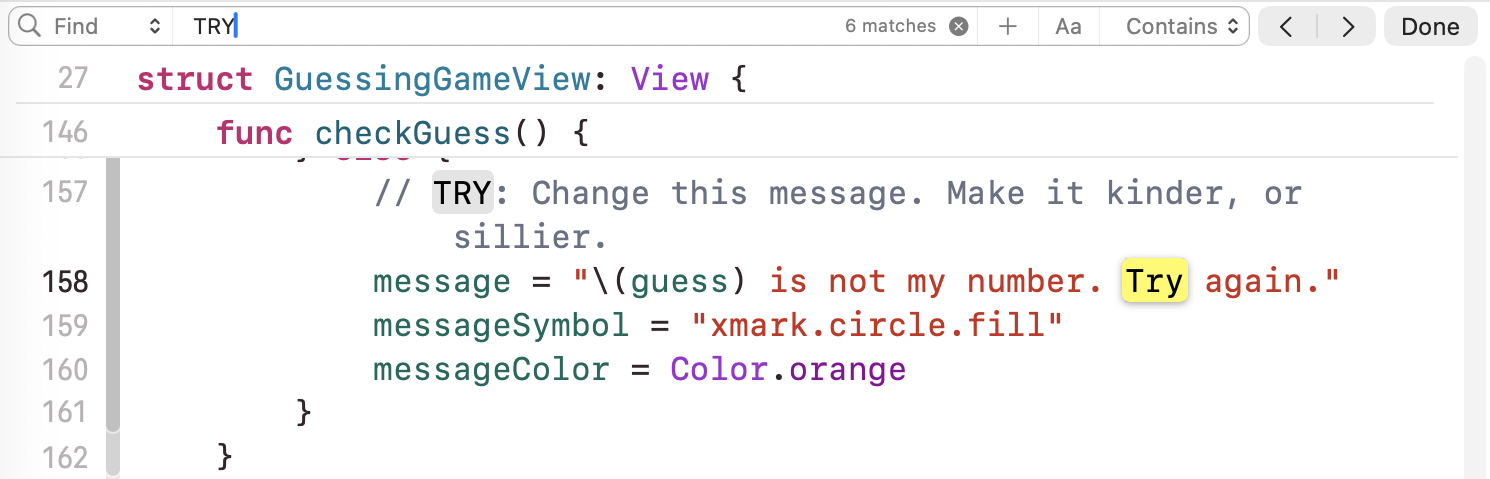
Xcode also finds the word Try inside a message, because it does not care about capital letters. Skip that one. You want the lines that start with // TRY:.
The first one is near the top of the file, just above the game’s settings:

Make a few changes
Pick two or three of the changes below, one at a time. Before you make each one, say to a neighbour what you think will happen. Then make the change and look at the preview, or run the game again with Command-R.
| Change | Find this | Try this |
|---|---|---|
| The range | let highestNumber: Int = 100 | let highestNumber: Int = 10 |
| The wrong-guess message | message = "\(guess) is not my number. Try again." | message = "Nope, not \(guess). Have another go!" |
| The size of the big number | .font(.system(size: 96, weight: .bold)) | .font(.system(size: 120, weight: .bold)) |
| The colour of the controls | .tint(Color.indigo) | .tint(Color.teal) |
Change only what is inside the quotation marks, or the number, or the colour’s name. Leave everything else exactly as it is.
Here is the range change, made. The blue bar beside line 23 shows a line that changed, the message says 1 to 10, and the guess starts at 5 instead of 50:
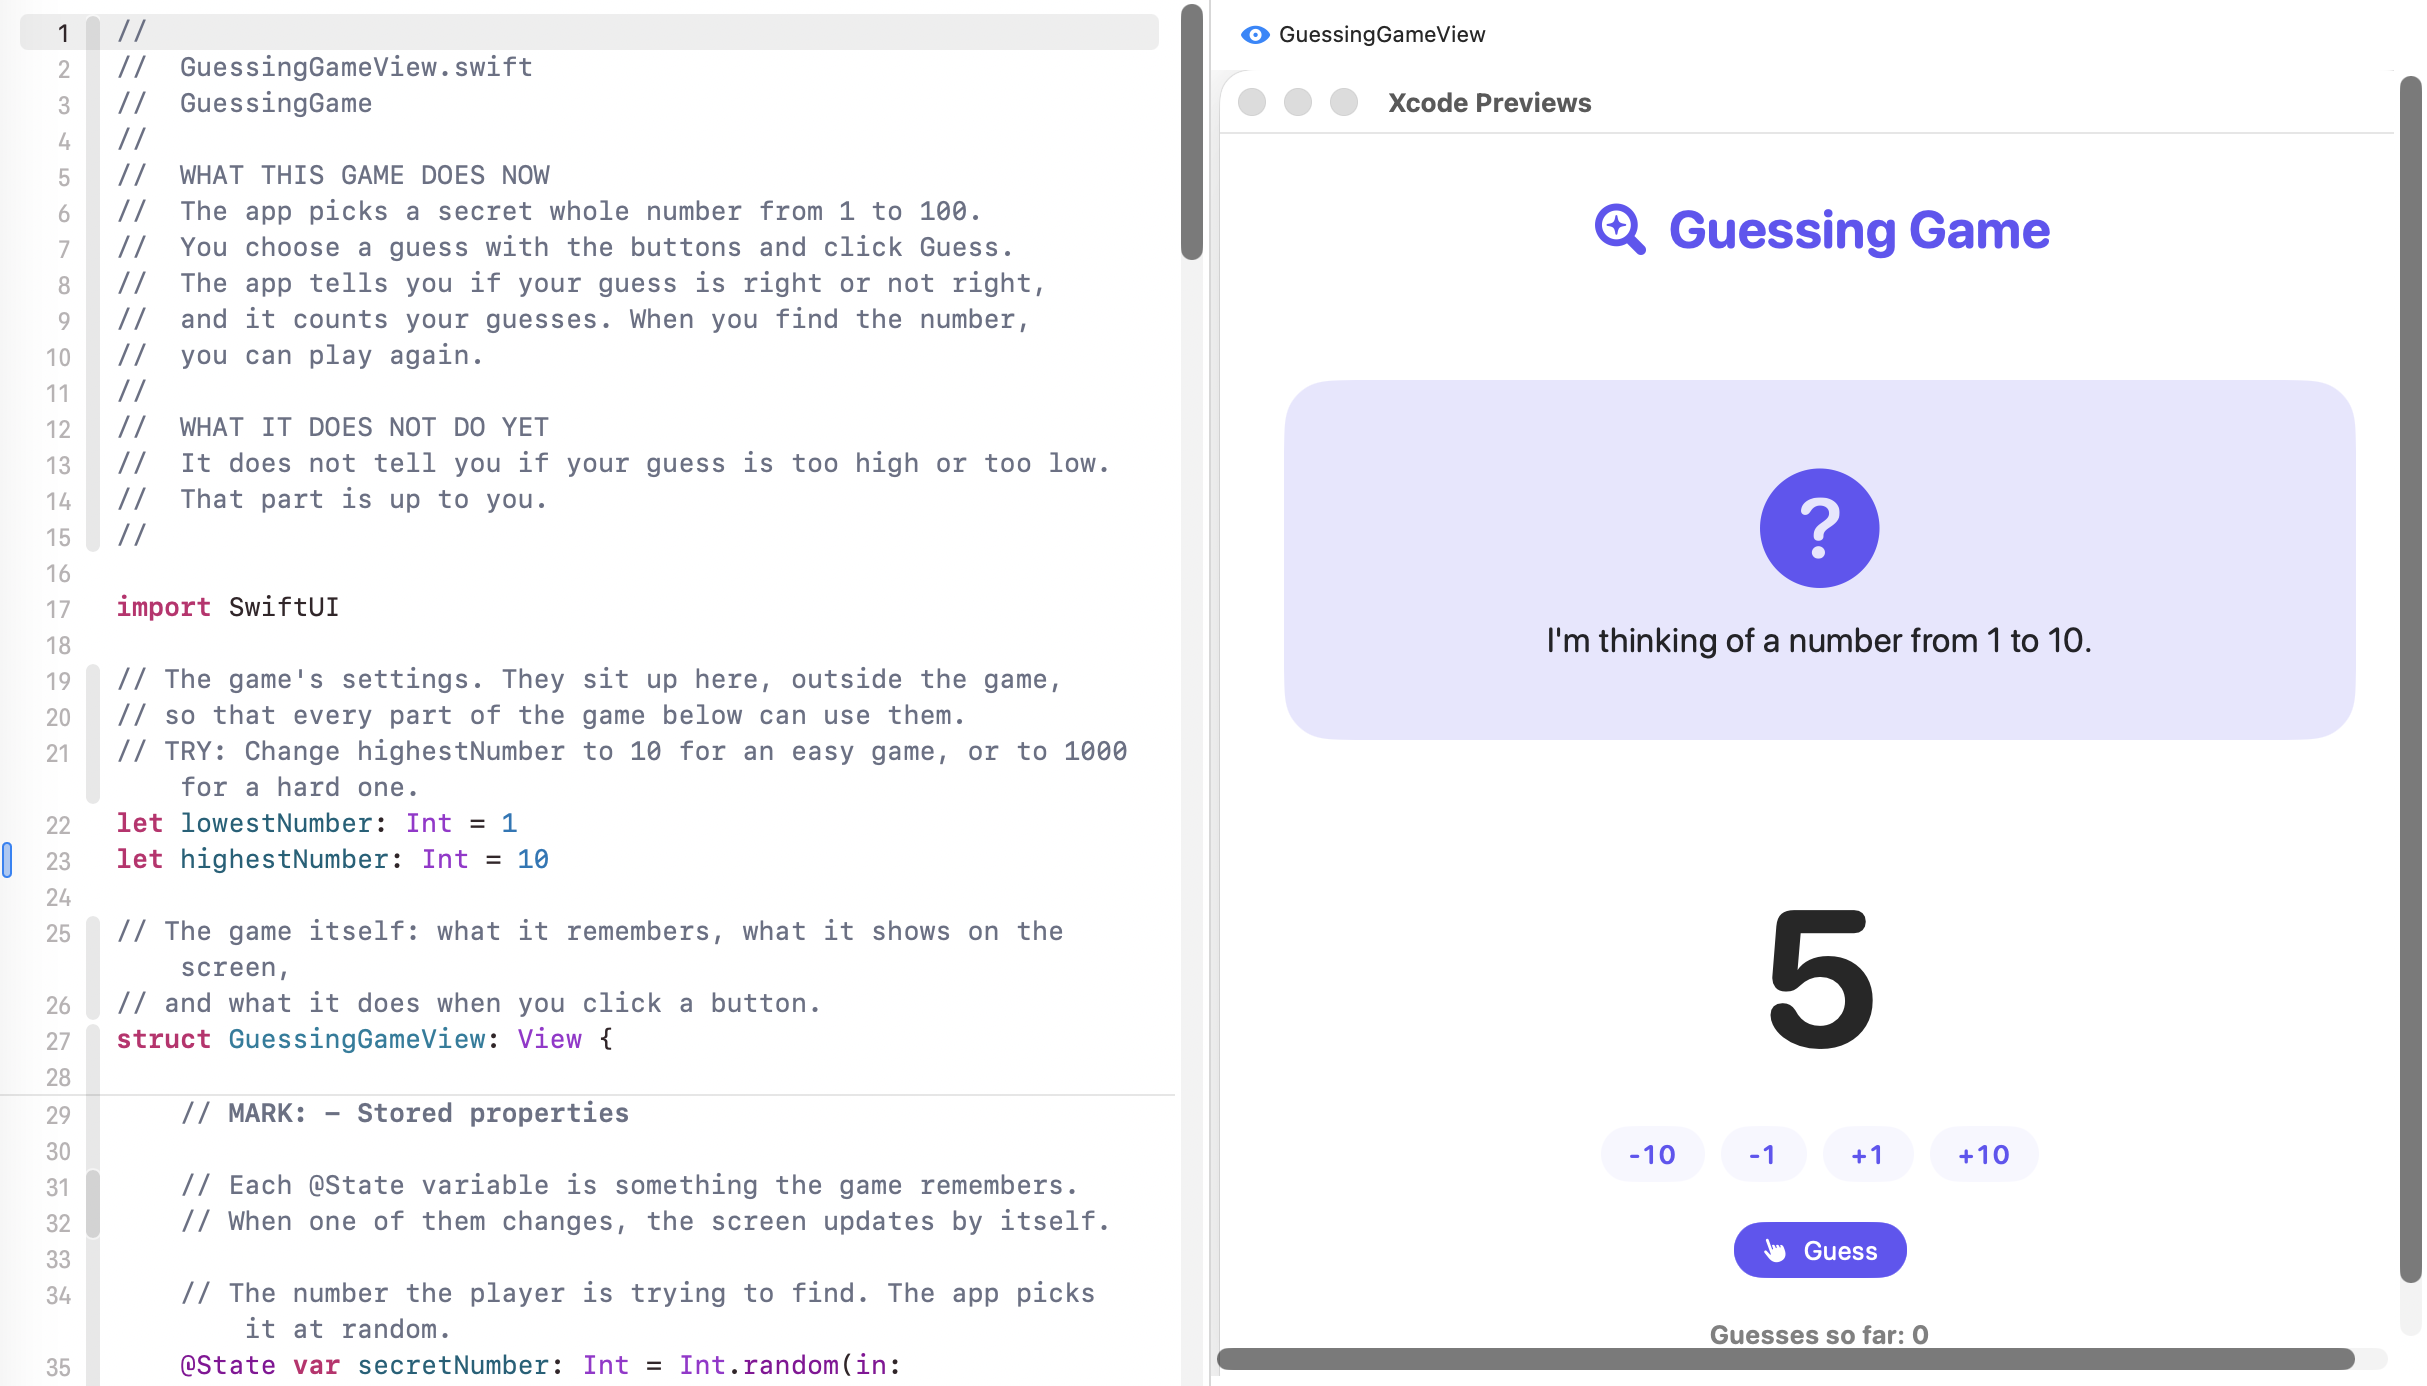
If you try the range, put highestNumber back to 100 once you have seen it work. Later lessons count on a game from 1 to 100.
Then ask why
Once a change works, try to answer one of these with your neighbour:
- The colour. Which parts of the screen changed colour? Which did not? Why not?
- The range. What number does the guess start at now? Keep your answer. We’ll come back to it.
- The message. What does
\(guess)do? What happens if you take the backslash out?
Go further: a message that changes its mind
Finished early? Make the wrong-guess message depend on how the game is going. After five wrong guesses, the game can start to encourage you.
To do that, the game needs to make a decision: if the guess count is more than five, say one thing, else say the other. Swift writes a decision like this:
if guessCount > 5 {
    message = "\(guess) is not it either. Keep going!"
} else {
    message = "\(guess) is not my number. Try again."
}
The part after if is the condition. When it is true, the code in the first pair of braces runs. When it is false, the code after else runs instead. Exactly one of the two messages is chosen, every time.
Typing all of that by hand, with every brace in the right place, is where most mistakes happen. A missing brace is a syntax error: Swift cannot read the code at all, and the game stops building. So let Xcode write the shape for you.
-
Press Command-F and find the wrong-guess message, the line that begins
message = "\(guess) is not my number. Click three times on it to select the whole line, then press Delete. The cursor is now on an empty line, indented, right where the message was. -
Type
if. A menu pops up under the cursor. This is autocomplete: Xcode offering to finish what you started.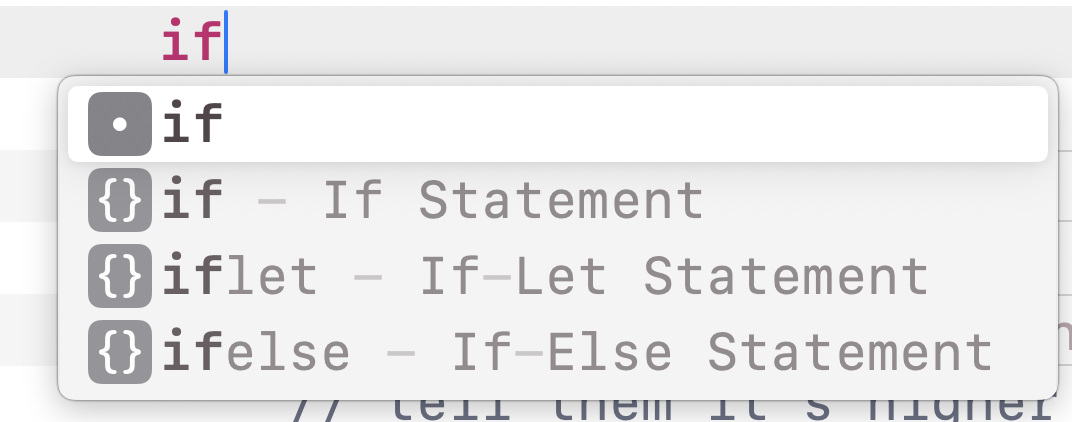
-
Press the down arrow key until ifelse – If-Else Statement is highlighted. The arrow keys move through the menu; the mouse works too, but the keyboard is quicker. Press Return.
-
Xcode types the whole shape, braces and all, with coloured placeholders where your code goes. The first placeholder,
condition, is already selected: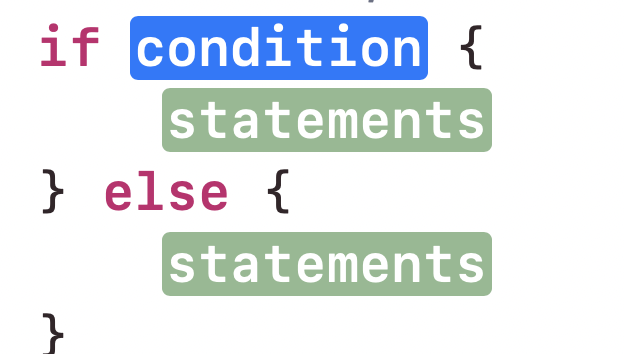
-
Type
guessCount > 5. It replaces the placeholder. -
Press Tab to jump to the first
statementsplaceholder. Typemessage = "\(guess) is not it either. Keep going!". -
Press Tab again to jump to the second
statementsplaceholder. Typemessage = "\(guess) is not my number. Try again.". -
If the lines look ragged, choose Editor > Structure > Re-Indent. Then run the game and guess wrong six times.
Autocomplete works for almost everything in Swift, not just if. Any time you start typing a word and a menu appears, you can arrow to the one you want and press Return. The shape Xcode writes is always correct, so what is left for you is only the part that matters: what goes inside.
Go even further: higher or lower
At the whiteboards this morning, the thinker never just said “wrong”. They said higher or lower, and that is what made the game winnable in seven guesses. Right now the app only says “not my number”. Can you teach it to answer the way your partner did?
No code is given here. Work it out with your neighbour, on the whiteboard first if that helps. These questions lead the way:
- When a guess is wrong, the game has two numbers to compare. What are they? Find the names the code uses for them. One of them is the number the player just guessed, and the other is the one the app is keeping secret.
- After a wrong guess, what are the two things the thinker could say? So how many messages does the code need, and what should each one say? Say higher when the secret number is bigger than the guess, the way your partner did.
- You already have an
if ... elsethat chooses between two messages. What should its condition be now, so that the right message is chosen? Write the condition in words first, then in Swift, using one of the operators below. - Make the change, run the game, and play it from the start. Does the halving strategy from this morning now work on the app? How many guesses does it take you?
Swift compares two values with these operators. Each one asks a question, and the answer is always true or false:
| Operator | The question it asks | Example | Answer, when guess is 50 and secretNumber is 72 |
|---|---|---|---|
== | Are they equal? | guess == secretNumber | false |
!= | Are they different? | guess != secretNumber | true |
< | Is the left one smaller? | guess < secretNumber | true |
> | Is the left one bigger? | guess > secretNumber | false |
<= | Is the left one smaller, or equal? | guess <= secretNumber | true |
>= | Is the left one bigger, or equal? | guess >= secretNumber | false |
The game already uses one of these. Look at the line if guess == secretNumber in checkGuess(): that is how it knows the guess is right. Notice the double equals sign. A single = puts a value into a variable. A double == asks whether two values are the same. Mixing them up is one of the most common mistakes in Swift, and Xcode will show a red mark when it happens.
Stuck?
Think about what your
ifis choosing between. The firstifincheckGuess()already handles the guess being right. Your new one only runs when the guess is wrong, so it only has to tell higher from lower.
If it breaks
Something went red, or the preview stopped working? That is fine. Press Command-Z to undo, one step at a time, until it works again. Then try once more, more carefully. Everyone breaks things. It is how you learn what the rules are.
Test of success
- You can find every
TRY:comment with Command-F. - Your Guessing Game runs, and it is different from the game you downloaded.
- You can point to a line you changed and say what it does.
- If you did the last extension: the game says higher or lower, and the halving strategy from the whiteboards finds the number in seven guesses or fewer.